Energy Efficient Home Design: 8 Proven Upgrades That Pay Best

An energy efficient home is decided on paper, months before anyone orders insulation. Orientation, shape, how much glass faces where, where the mechanical room sits — these cost nothing to get right at the design stage and are effectively unfixable afterwards.
This is the new-build companion to retrofitting an existing house. If yours is already standing, our green building upgrade sequence is the one you want. What follows is for a house that has not been drawn yet.
In this guide
- The decisions that are free at design stage
- 8 energy efficient home design choices
- Where the Massachusetts code sits
The decisions that are free at design stage
Equipment can be upgraded later. Insulation can be improved, expensively. But the shape of the building, which way it faces, and where the glass went are permanent from the day the foundation is poured.
Those decisions cost the same whichever way you make them. That is what makes them the highest-return items on any energy list — and why they belong in the first design conversation rather than the specification one.
8 energy efficient home design choices
1. Point the long side south
A house with its long axis running east-west presents its broad face south, which collects winter sun when you want it and is straightforward to shade in summer when you do not.
On many Cape lots the view or the street dictates orientation and you take what you are given. Where there is a genuine choice, this one is free and permanent.
2. Keep the shape simple
Every bump-out, dormer, and corner adds exterior surface for the same interior volume, and surface is where heat leaves. It also adds junctions, and junctions are where air leaks and where flashing eventually fails.
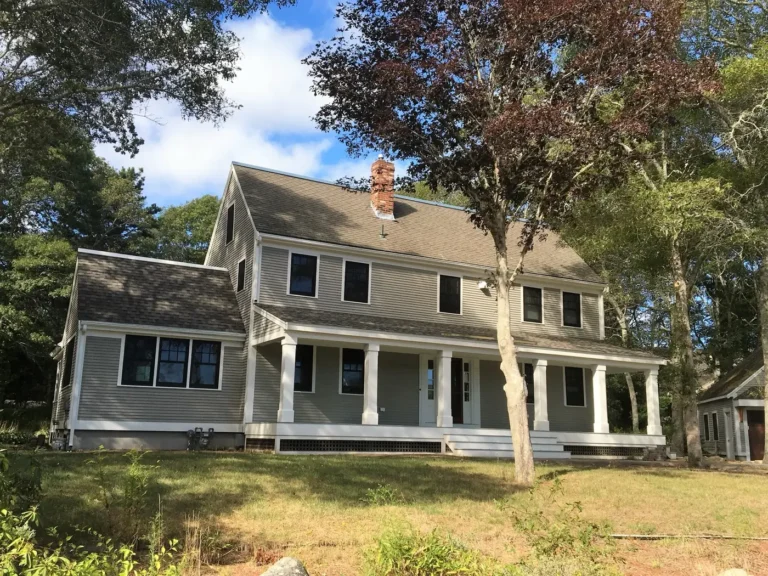
The traditional Cape is a very efficient shape for exactly this reason. That is not nostalgia — a compact rectangle under a simple gable is genuinely hard to beat.
3. Put the glass where it earns its keep
South glass is an asset in winter with proper overhangs. West glass is the problem child — low afternoon sun that overhangs cannot cut, driving summer cooling demand. North glass gives even light and loses heat steadily.
Total glazing area matters as much as placement. A wall of glass toward the water is often the whole point of a coastal house; just specify it knowingly and pay for the glass to do it well.
4. Size the overhangs deliberately
A correctly sized south overhang cuts high summer sun and admits low winter sun, entirely passively, forever. It is geometry, and it costs nothing beyond drawing it properly.

5. Draw the air barrier before you build it
Ask where the continuous air barrier runs and expect to be shown it on a drawing, unbroken, all the way round. If nobody can point to that line, the house will leak at whatever junction was worked out on site.
Air sealing outperforms added insulation per dollar in almost every case, and it is only genuinely cheap during construction. How the result gets measured is in our blower door guide.
6. Keep the mechanicals inside the envelope
Equipment and ductwork in a vented attic or crawlspace lose energy to outdoor conditions continuously. Designed into conditioned space, those losses stay in the house.
This needs planning — a real mechanical room is a room, and it competes with other rooms. In a flood zone it interacts with elevation requirements too.
7. Design ventilation in from the start
A properly built new house is tight, and a tight house needs mechanical ventilation — this is not optional and it is not a retrofit item. Balanced ventilation with heat recovery, routed at design stage rather than squeezed in later.
On a humid coastal site it does as much for comfort and moisture as it does for energy.
8. Leave room for what comes next
Even if you are not installing solar or a battery now, a south roof plane kept clear of vents and dormers, a spare cable pathway to the roof, and spare breaker positions cost very little at build time and a great deal later.
Same thinking applies to a vehicle-charging circuit at the garage. Rough it in now; decide later.
Where the Massachusetts code sits
Which energy standard your project must meet is a town-level answer, not a state-level one — municipalities here have adopted different tiers, and several Cape towns sit on the stricter end. The state code page lists what each tier requires; your building department confirms which one you are actually designing to. Ask before schematic design, because the answer changes wall assemblies.
Treat code as the floor. Everything above is a design decision about how the house will feel and cost to run for the next fifty years. Incentive programmes are worth checking at Mass Save before you finalise mechanical specifications, because some of them affect which equipment makes sense.
Custom Crafted Homes has been building on Cape Cod since 1974 — second-generation builders, third generation here — across all 15 Cape Cod towns, Falmouth included. If you are at the sketch stage, this is exactly the moment these choices are free. Our custom home building page shows the standard we build to. Call (508) 619-7909 or get in touch. We respond within one business day.
Custom Crafted Homes is a family-owned custom home builder and remodeling contractor based in Dennis, MA, serving all 15 Cape Cod towns since 1974. Fully licensed and insured — MA Construction Supervisor License #CS-074943, Home Improvement Contractor Registration #169552.